Publication Pages Using Jekyll Collections
Jekyll collections are a great way to group and process pages of related content. I’m currently using collections to build my publications page and associated project pages. This post provides a short rundown how to implement something like this.
Add a Collection
First of all, you need to add a collection to your Jekyll configuration file, _config.yml. In this case, I aptly name it publications:
collections:
  publications:
    output: true
    permalink: /:collection/:name
The output: true option configures Jekyll to write a rendered page for each document in the collection. This will be the project page associated to each publication. The permalink option configures the output path based on the base name of the document.
Create an Example Document
Next, create a directory named _publications to store one Markdown file for each publication. Each of these files will hold the publication meta-data such as title, authors, or where the work was published. In this example, I’m using the following dummy content and save it in a file named mypub19.md:
---
layout: default
title: A New Method for Fancy Research
authors: John Doe and Mary Jane
publication: Journal of Fancy Research
year: 2019
doi: http://dx.doi.org/XX.XXX/
---
Add a Publications Page
The next step is to create an overview page that lists all your publications. In my example, I simply call it publications.html and use some basic Liquid loop to list all publications in reverse chronological order:
---
layout: default
title: Publications
---

<h1 class="mt-4">Publications</h1>
{% assign publications = site.publications | sort: "year" | reverse %}
{% for pub in publications %}
<div class="pubitem">
  <div class="pubtitle">{{ pub.title }}</div>
  <div class="pubauthors">{{ pub.authors }}</div>
  <div class="pubinfo">{{ pub.publication }}, {{ pub.year}}</div>
</div>
{% endfor %}
Integrating this into my minimal jekyll-bootstrap-template will give you something like this:
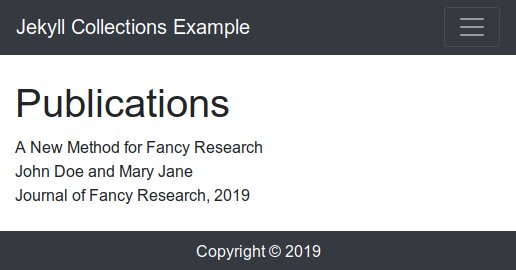
Admittedly, this looks rather dull, so let’s add at least some minimal CSS styling:
.pubitem {
  margin: 2em 0;
  line-height: 1em;
}

.pubtitle {
  margin-bottom: 0.5em;
  line-height: 1.2em;
  font-weight: bold;
}

.pubauthors,
.pubinfo {
  font-size: 75%;
  margin-bottom: 0.75em;
}
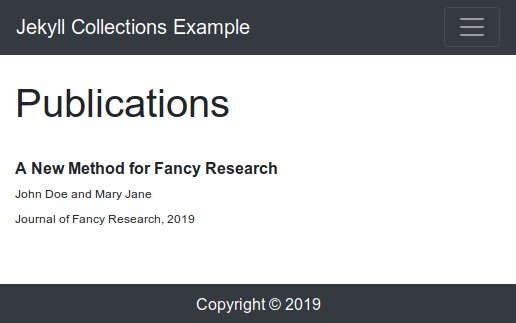
This produces:
Adding Teaser Images
Next up, a proper publication entry needs a teaser image, isn’t it? By convention, I keep a small teaser image using a name based on
- the base name of the publication file
- plus a
_smallsuffix - plus the file extension
The base name can be accessed in Liquid using the slug variable. Add the following code to the pubitem element, just before pubtitle element:
<div class="pubteaser">
  <a href="{{pub.url}}">
    <img
      src="/images/publication-pages/{{ pub.slug }}_small.jpg"
      alt="{{pub.slug}} publication teaser"
    />
  </a>
</div>
Add some CSS for it:
.pubteaser {
  clear: both;
}

.pubteaser a {
  float: left;
  margin-right: 2em;
}

.pubteaser img {
  width: 100px;
  border: 1px solid black;
}
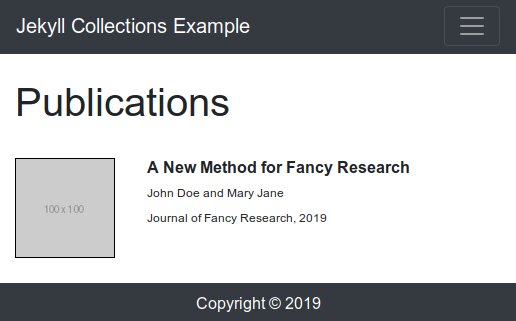
The result already looks much closer to something acceptable:
Adding Links
In order to keep the overview page clear and concise, I only include two links per publication:
- A download link for the PDF
- A link to the project page providing more details
By convention, I keep a PDF file using the same base name as the publication file in my downloads folder. The following snippet adds the corresponding links to the overview page. Just add it at the end of the pubitem element:
<div class="publinks">
<a href="/download/{{ pub.slug}}.pdf"><i class="far fa-file-pdf"></i> PDF</a
>
<a href="{{pub.url}}"><i class="fas fa-link"></i> Project Page</a>
</div>
Add some more CSS:
.publinks {
  font-size: 75%;
}
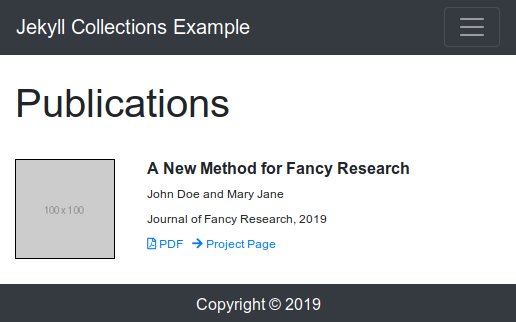
And the result looks like this:
Project Pages
Now, the final missing piece is a proper project page providing supplementary information and additional downloads. I’m controlling what this page looks like using a custom layout named publication. I’m providing a sample layout below, simply add it as publication.html to your _layouts directory and replace the default layout in your publication meta-data file with publication.
---
layout: default
---
<div class="page">
<h1 class="mt-4 publication-title">{{ page.title }}</h1>
<div class="publication-authors">{{ page.authors }}</div>
<div class="publication-info">{{ page.publication }}, {{ page.year}}</div>
<div class="publication-teaser">
<img
src="/images/publication-pages/{{ page.slug }}.jpg"
alt="project teaser"
/>
</div>
{{ content }}
<h2 id="downloads">Downloads</h2>
<p>
<a href="/download/{{ page.slug }}.pdf"
><i class="far fa-file-pdf"></i> PDF</a
> {% if page.slides %}
<a href="/download/{{ page.slug }}_slides.pdf"
><i class="far fa-file-pdf"></i> Slides</a
> {% endif %}
<a href="/download/{{ page.slug }}.bib"
><i class="far fa-file-alt"></i> BibTex</a
> {% if page.doi %}
<a href="{{ page.doi }}"><i class="fas fa-external-link-alt"></i> DOI</a
> {% endif %}
</p>
</div>
After adding some dummy abstract to the publication file this results in the following page:
The above layout assumes a two additional files to be present:
- A full size teaser image named
{{ page.slug }}.jpg - A BibTex file named
{{ page.slug }}.bib
Presentation slides and DOI links are optional and only included if you specify the corresponding keys in the publication file preamble. Add additional links as needed, e.g., for downloading example code, data, or links to a repository.
Wrapping Up
That’s all there is to it. For your convenience, I set up a repository providing a complete minimal working example. You’ll probably want to modify and adjust this to your needs, but hopefully this will help to get you started.