Creating a Jekyll Bootstrap Template
I recently rewrote this site to use a custom Jekyll theme based on Bootstrap and Sass. I kept some notes during the process, and now I reworked them into this short guide on building a bare-bones Jekyll Bootstrap template.
The following assumes you’re already somewhat familiar with Jekyll. If this is not the case, I’d recommend to head over to the Jekyll homepage first in order to learn some basics.
For the impatient: The complete code is available on GitHub. However, I’m sure you’ll get more out of this if you follow along and try the steps for yourself.
Creating the Skeleton
We begin by creating a fresh Jekyll skeleton:
jekyll new jekyll-bootstrap-minimal --blank
Next, add a directory to contain the Bootstrap Sass distribution:
cd jekyll-bootstrap-minimal
mkdir -p css/bootstrap
Get the latest version of Bootstrap from their website. Be sure to download the source distribution. Unzip the downloaded file and copy the scss directory into the skeleton:
cp -r ~/Downloads/bootstrap-4.2.1/scss/* css/bootstrap/
Create the main Sass file css/style.scss and import Bootstrap:
---
---

/* modify Bootstrap variables here */

@import "bootstrap/bootstrap";

/* add additional CSS rules below */
Create a default _config.yml file telling Jekyll where to search for Sass files:
sass:
  sass_dir: css
  style: compressed
I added the compression option so that the resulting .css files are smaller and load faster.
The last thing to do is to import the jQuery and Bootstrap JavaScript libraries:
mkdir js
wget https://code.jquery.com/jquery-3.3.1.min.js -P js
cp ~/Downloads/bootstrap-4.2.1/dist/js/* js/
That’s all there is for the absolute minimum. However, this will not yet give you any useful site template. The following section describes how to add a default layout in order to get a minimal site up and running.
Adding a Minimal Layout
Create a default layout file as _layouts/default.html:
<!DOCTYPE html>
<html lang="en">
  {% include header.html %}
  <body>
    {% include navbar.html %}
    <div class="container">{{ content }}</div>
    {% include footer.html %}
    <script src="/js/jquery-3.3.1.min.js"></script>
    <script src="/js/bootstrap.min.js"></script>
  </body>
</html>
Create the _includes directory:
mkdir _includes
For the content of the include files I borrow bits and pieces from the Portfolio Item template made by Start Bootstrap.
Start with the header in _includes/header.html:
<head>
  <link href="http://gmpg.org/xfn/11" rel="profile" />
  <meta http-equiv="X-UA-Compatible" content="IE=edge" />
  <meta http-equiv="content-type" content="text/html; charset=utf-8" />
  <meta name="viewport" content="width=device-width, initial-scale=1.0" />

  <title>{{ page.title }} - {{ site.title }}</title>

  <link rel="stylesheet" href="/css/style.css" />
</head>
Add a navbar in _includes/navbar.html:
<nav class="navbar navbar-expand-lg navbar-dark bg-dark">
  <div class="container">
    <a class="navbar-brand" href="#">{{ site.title }}</a>
    <button
      class="navbar-toggler"
      type="button"
      data-toggle="collapse"
      data-target="#navbarResponsive"
      aria-controls="navbarResponsive"
      aria-expanded="false"
      aria-label="Toggle navigation"
    >
      <span class="navbar-toggler-icon"></span>
    </button>
    <div class="collapse navbar-collapse" id="navbarResponsive">
      <ul class="navbar-nav ml-auto">
        <li class="nav-item active">
          <a class="nav-link" href="#"
            >Home
            <span class="sr-only">(current)</span>
          </a>
        </li>
        <li class="nav-item">
          <a class="nav-link" href="#">About</a>
        </li>
        <li class="nav-item">
          <a class="nav-link" href="#">Services</a>
        </li>
        <li class="nav-item">
          <a class="nav-link" href="#">Contact</a>
        </li>
      </ul>
    </div>
  </div>
</nav>
Add the footer to _includes/footer.html:
<footer class="py-2 bg-dark">
<div class="container">
<p class="m-0 text-center text-white">
Copyright © {{ site.time | date: '%Y' }}
</p>
</div>
</footer>
Now it’s time to add some content to your index.html file:
---
layout: default
title: Home
---

<h1 class="my-4">
  Page Heading
  <small>Secondary Text</small>
</h1>

<div class="row">
  <div class="col-md-8">
    <img class="img-fluid" src="http://placehold.it/750x500" alt="" />
  </div>
  <div class="col-md-4">
    <h3 class="my-3">Project Description</h3>
    <p>
      Lorem ipsum dolor sit amet, consectetur adipiscing elit. Nam viverra
      euismod odio, gravida pellentesque urna varius vitae. Sed dui lorem,
      adipiscing in adipiscing et, interdum nec metus. Mauris ultricies, justo
      eu convallis placerat, felis enim.
    </p>
    <h3 class="my-3">Project Details</h3>
    <ul>
      <li>Lorem Ipsum</li>
      <li>Dolor Sit Amet</li>
      <li>Consectetur</li>
      <li>Adipiscing Elit</li>
    </ul>
  </div>
</div>

<h3 class="my-4">Related Projects</h3>

<div class="row">
  <div class="col-md-3 col-sm-6 mb-4">
    <a href="#">
      <img class="img-fluid" src="http://placehold.it/500x300" alt="" />
    </a>
  </div>
  <div class="col-md-3 col-sm-6 mb-4">
    <a href="#">
      <img class="img-fluid" src="http://placehold.it/500x300" alt="" />
    </a>
  </div>
  <div class="col-md-3 col-sm-6 mb-4">
    <a href="#">
      <img class="img-fluid" src="http://placehold.it/500x300" alt="" />
    </a>
  </div>
  <div class="col-md-3 col-sm-6 mb-4">
    <a href="#">
      <img class="img-fluid" src="http://placehold.it/500x300" alt="" />
    </a>
  </div>
</div>
We used the site.title Liquid variable in the above includes. Therefore, we need to add it to _config.yml:
title: Jekyll Bootstrap
sass:
  sass_dir: css
  style: compressed
That’s it. Kick off Jekyll to build and serve your site:
jekyll serve
The result should look like this:
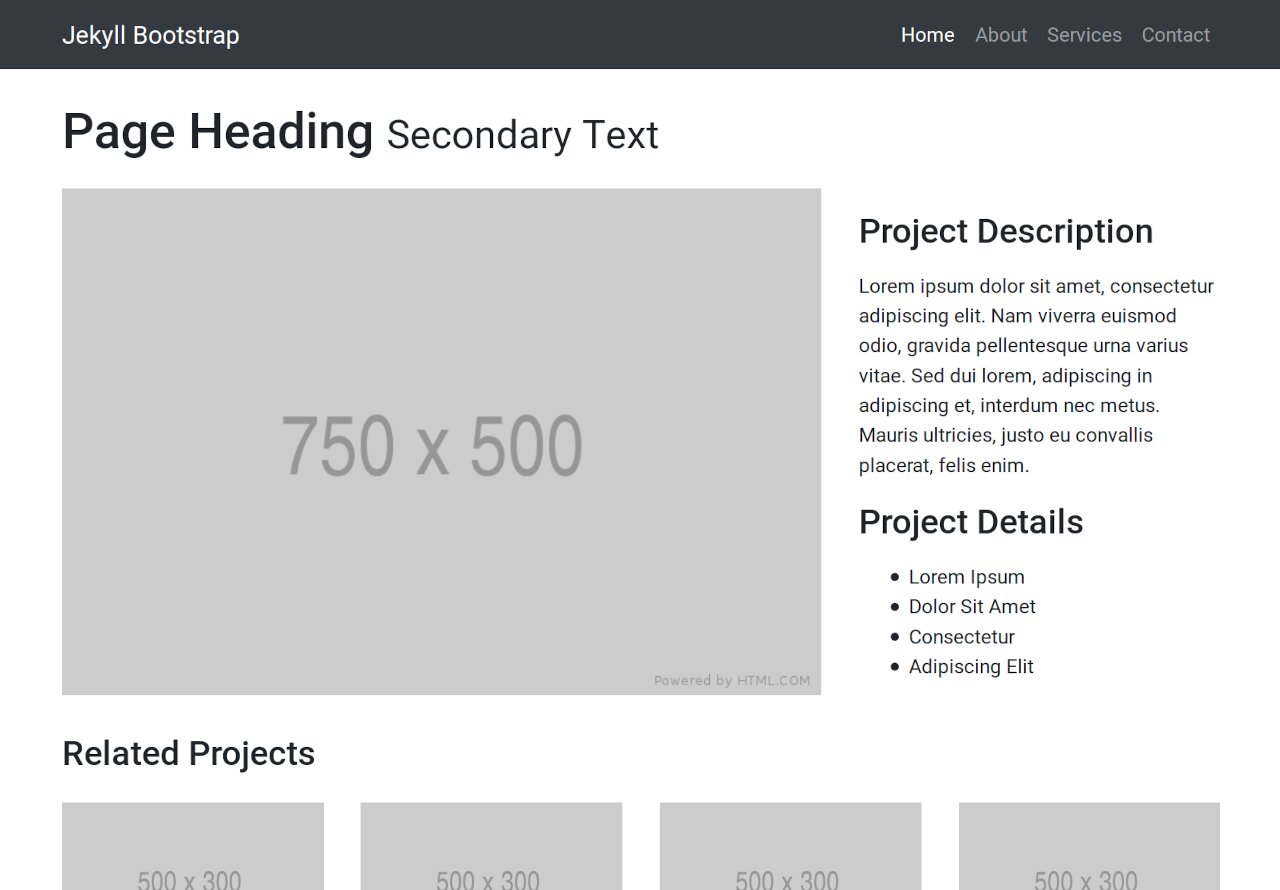
Not too bad, ain’t it? In any case, the resulting template should provide you with a good starting point for building whatever website you have in mind. Checkout the repository for the full source code and feel free to fork and modify to suit your needs. Hope this helps!